Firearm recoil control is a fundamental skill that separates casual handlers from proficient operators. For those stepping onto the range for the first time, the sharp snap of a pistol or the push of a rifle can be startling, often leading to flinching and inaccurate shot placement. Experienced marksmen, however, understand that managing energy transfer is not merely about grip strength but about biomechanics, stance, and the physics of the platform. The goal is to direct that rearward force into the ground or the shooter’s frame rather than letting it dictate the muzzle’s path. Mastery of these techniques allows for faster follow-up shots and greater accuracy, regardless of the caliber being fired. Understanding the mechanics behind recoil is the first step toward taming it, whether one is holding a compact handgun or a full-sized battle rifle.
The Physics of Recoil and Energy Transfer
Every firearm discharge creates a rearward momentum impulse defined by Newton’s third law, how to reduce firearm recoil. The bullet and expanding gases move forward, and the firearm moves backward with equal force. The perception of that force, however, is influenced by the mass of the weapon, the powder charge, and the surface area of the grip. A heavier pistol will naturally dampen the felt recoil compared to a lightweight frame, all else being equal. For beginners, this physics means that a .22 LR training pistol will feel markedly different from a 9mm defensive carry gun, not just in caliber but in manageable energy. Experienced shooters utilize this knowledge by selecting platforms that match their physical capabilities, understanding that a 10-pound rifle absorbs significantly more energy than a 6-pound counterpart before it ever reaches the shooter’s shoulder.
The concept of recoil energy is often measured in foot-pounds, but the felt recoil is a subjective experience tied to the duration of the impulse. A sharp, snappy recoil from a short-barreled revolver feels more intense than a pushing force from a long-barreled rifle, even if the total energy is similar. This is where the design of the firearm’s action plays a role; blowback, gas-operated, and recoil-operated systems each handle energy differently. A shooter must learn to read the gun’s behavior in the split second after the trigger breaks. By recognizing whether the weapon is jumping straight up or pushing to the side, the operator can apply the specific counter-measure needed, whether that is adjusting grip pressure or shifting body weight.
Moreover, the shooter’s body acts as the final shock absorber. If the muscles are tensed and rigid, the body will reflect the gun’s movement back into the shooter’s control, often resulting in a flinch. Conversely, a relaxed but engaged stance allows the skeleton to take some of the load. The transfer of energy from the firearm into the ground through the shooter’s feet is a critical variable. This is why proper foot placement and a slight forward lean are emphasized in training regimens. The physics are unforgiving, but the human body is adaptable when the correct neural pathways are established through repetition and mindful practice.
Stance and Body Alignment Fundamentals
A solid shooting stance is the foundation upon which all recoil control is built. The isosceles stance, with feet shoulder-width apart and arms extended, is popular for its symmetry and ease of movement, but the Weaver stance, with its bladed posture and bent elbows, often provides more stability for managing heavy recoil. The key is not just the position of the feet, but the tension distribution. In a proper stance, the shooter should feel grounded through the balls of the feet, with knees slightly flexed to act as shock absorbers. This athletic posture allows the body to move with the gun rather than resisting it rigidly, which reduces the impact on the wrists and shoulders.
Body alignment also dictates how the recoil vector is processed. The torso should be leaned forward slightly from the ankles, not the waist, creating a forward momentum that counters the rearward push of the firearm. This lean ensures that the recoil force travels down the skeleton into the ground, rather than translating into muzzle flip. For those shooting rifles, a slight crouch and a firm contact between the stock and the shoulder pocket are essential. The shoulder pocket, the area between the pectoral muscle and the collarbone, is designed to distribute the force across a broad area of tissue, minimizing bruising and maximizing control. Without this alignment, even a moderate caliber can feel unmanageable.
Furthermore, the head position plays a subtle but vital role. The eyes should be level with the sights, and the neck should remain relaxed. Tilting the head too far forward or back can misalign the sight picture and amplify the perception of recoil. Experienced shooters often develop a consistent “cheek weld” on the stock or a consistent grip height on the pistol, which creates a repeatable anchor point. This consistency reduces variables, making it easier to diagnose whether a miss was due to recoil management or sight alignment. The stance is the shooter’s anchor; if the anchor is shaky, the shot will be erratic.
Grip Techniques and Hand Placement
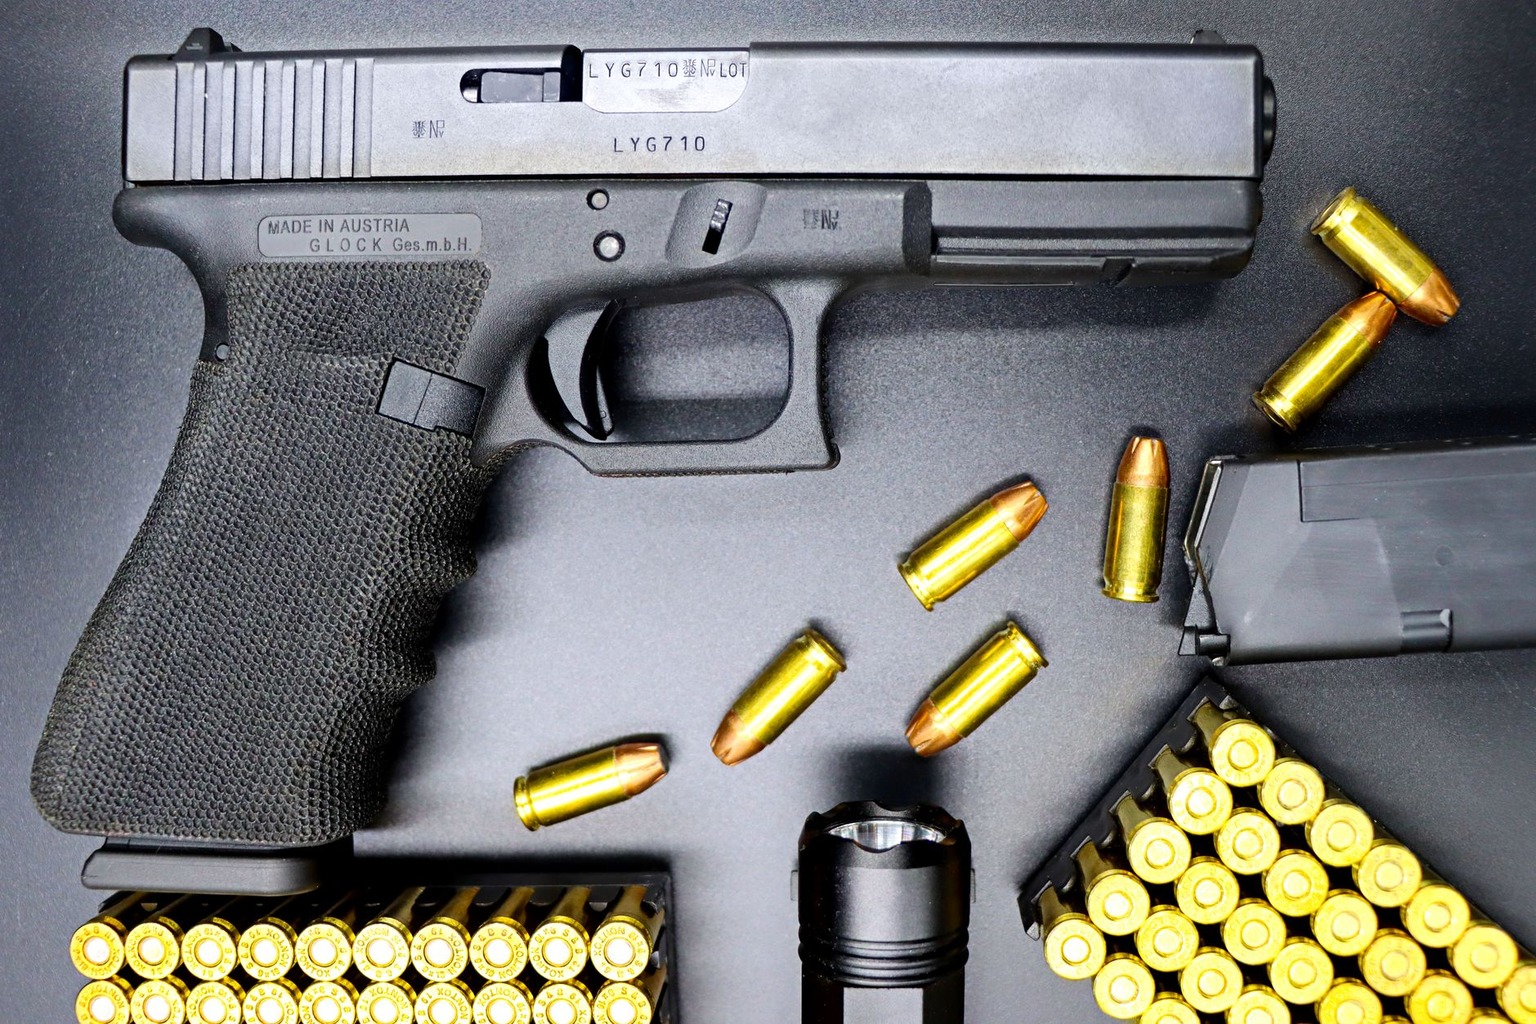
The grip is the primary interface between the shooter and the firearm, making it the most critical point of recoil control. A high grip on a semi-automatic pistol, where the web of the hand sits as high as possible on the backstrap, reduces the leverage the recoil has to flip the muzzle upward. For beginners, this often feels unnatural, as it requires clearing the slide’s movement path, but it is the single most effective change a novice can make. The fingers should wrap firmly around the grip, but not so tight that the hand tremors; a death grip often leads to fatigue and decreased control over time. The support hand, whether gripping the pistol frame or supporting the rifle fore-end, must apply pressure inward and forward.
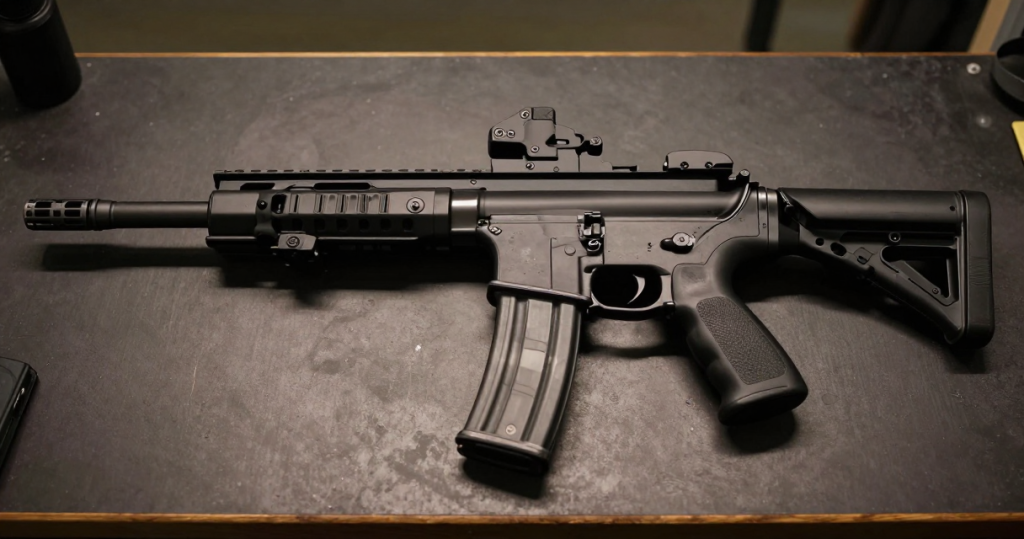
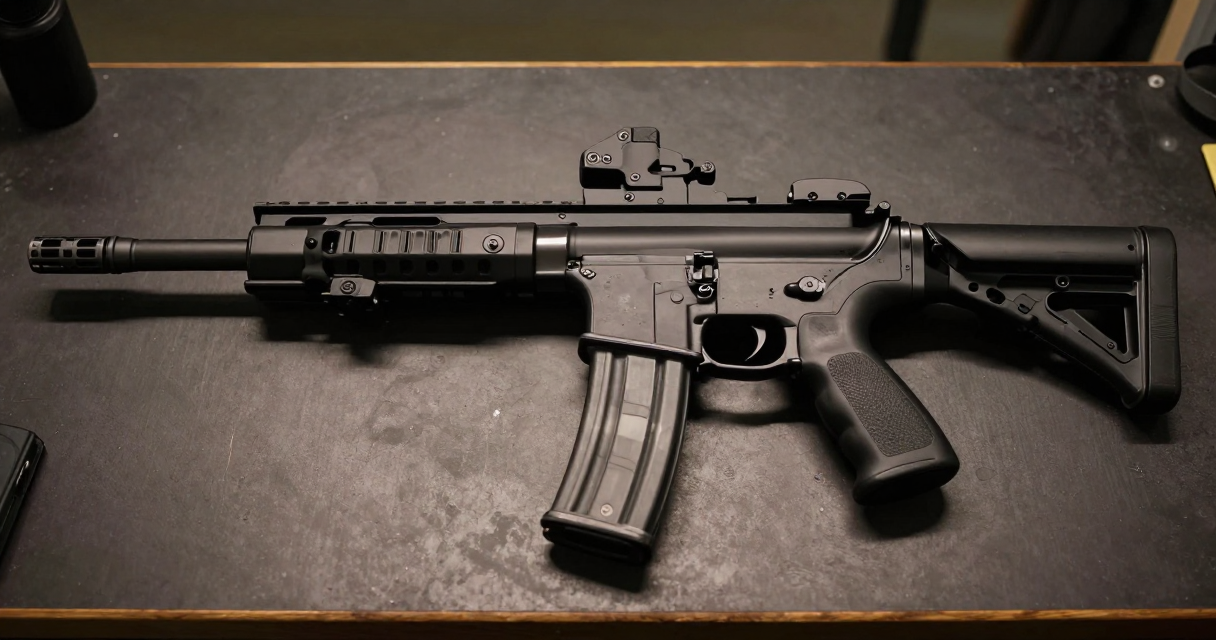
On rifles, the two-handed grip involves the strong hand on the pistol grip and the support hand pushing forward on the handguard. This “push-pull” tension creates a twisting force that stabilizes the weapon against the shooter’s shoulder. The support hand’s pressure should be directed straight back, matching the recoil vector, rather than pulling down. This tensioning of the upper body creates a rigid column that resists muzzle rise. For those using adjustable stocks, the length of pull must be set so that the support hand can apply maximum pressure without overextending the arm. A proper grip turns the shooter’s body into a single, unified unit capable of absorbing and redirecting energy.
Beginners often make the mistake of gripping the pistol too far forward in the palm, which creates leverage that throws the muzzle up sharply. Instead, the grip should be high and tight, with the trigger finger resting on the frame until the moment of the shot. On the range, dry-fire practice focusing on grip placement can build muscle memory without the recoil variable. Experienced shooters often experiment with grip pressure modulation, squeezing tighter just before the shot breaks and relaxing slightly during recoil recovery. This dynamic grip technique allows for faster realignment of the sights for the next round. The grip is not static; it is a living connection that must adapt to the firearm’s behavior.
Recoil Mitigation Devices and Accessories
Modern firearm technology offers a variety of devices designed to tame recoil, ranging from simple add-ons to complex system modifications. Muzzle brakes and compensators are perhaps the most visible, venting propellant gases sideways or upward to counteract the upward momentum of the barrel. A muzzle brake can reduce perceived recoil by 30% to 50%, depending on the caliber and design, making it a popular choice for competitive shooters and those firing large-bore rifles. However, these devices come with trade-offs, including increased noise and muzzle flash, which can be disorienting for the shooter and those nearby. For beginners, a compensator can be a valuable tool, but it should be paired with proper technique rather than relied upon as a crutch.
Recoil pads, particularly on rifles and shotguns, serve a different purpose by increasing the surface area of contact between the stock and the shooter’s shoulder. A thick, rubber recoil pad absorbs energy over a longer period, softening the sharp snap that can bruise the collarbone. Some pads are adjustable, allowing the shooter to change the length of pull and the angle of the stock. This customization is crucial for growing shooters or those transitioning between different body armors. Additionally, weight reduction or addition accessories, such as weighted guide rods in pistols or tungsten weights in rifle stocks, can shift the center of mass and dampen the vibration felt by the shooter.
It is important to note that no device replaces the fundamentals of stance and grip. A muzzle brake on a poorly gripped pistol will still flip unpredictably, and a thick recoil pad on a rifle held with a loose stance will not prevent muzzle rise. Accessories are force multipliers; they enhance what the shooter is already doing right, or expose flaws in technique that need correction. When selecting a recoil device, the shooter should consider the intended use, home defense, competition, or hunting, as the constraints of each scenario differ. A competition shooter might prioritize a heavy compensator for speed, while a hunter might prefer a compact, lightweight pad for mobility. The key is integration, not substitution.
Trigger Control and Its Role in Recoil Management
Trigger control is often discussed in the context of accuracy, but it is inextricably linked to recoil management. A jerking or slapping trigger finger introduces unwanted movement the moment the firing pin strikes. This movement is compounded by the recoil impulse, causing the shooter to lose the sight picture prematurely. For beginners, the emphasis should be on a smooth, consistent press straight to the rear, without disturbing the alignment of the sights. The trigger finger should travel independently of the grip hand; any torque applied by the finger will be transferred to the frame, affecting the gun’s movement during recoil. Practicing dry fire with a focus on a crisp break can develop the neural pathways needed for clean shots.
Experienced shooters understand that the reset point of the trigger is a critical moment for recoil recovery. As the gun fires, the shooter’s focus should shift immediately to feeling the trigger reset, allowing the finger to prepare for the next shot without fully releasing. This “riding the reset” technique minimizes the time between shots and keeps the muzzle more stable. The pressure applied by the trigger finger can also be used to subtly influence the gun’s direction during recoil. A slight forward press on the trigger as the gun moves rearward can counteract muzzle flip, though this requires a deft touch and is generally more effective on pistols with shorter trigger travel.
Moreover, the choice of trigger weight can affect how a shooter perceives and manages recoil. A lighter trigger may allow for more precise control but can increase the risk of accidental discharge if not handled with discipline. A heavier double-action first pull, common on many defensive pistols, requires a different motor skill set but can actually help beginners by forcing a deliberate, slow press that naturally limits rapid, jerky movements. The interaction between the trigger finger and the rest of the body is a feedback loop; improving one improves the other. Consistent trigger control creates a predictable recoil pattern, making it easier to apply the correct counter-measures in real-time.
Breathing Patterns and Mental Focus
Breathing is the often-overlooked variable in recoil control, yet it directly impacts the shooter’s stability and heart rate. Holding the breath can cause the body to stiffen and the vision to tunnel, both of which exacerbate the perception of recoil. Conversely, breathing too rapidly can lead to lightheadedness and a loss of fine motor control. The optimal technique is a controlled respiratory cycle: inhale deeply, exhale halfway, and hold the lungs at that midpoint while taking the shot. This “combat breathing” technique stabilizes the core and keeps the body in a state of relaxed readiness. The pause between inhale and exhale creates a natural pause window that experienced shooters exploit for precision shots.
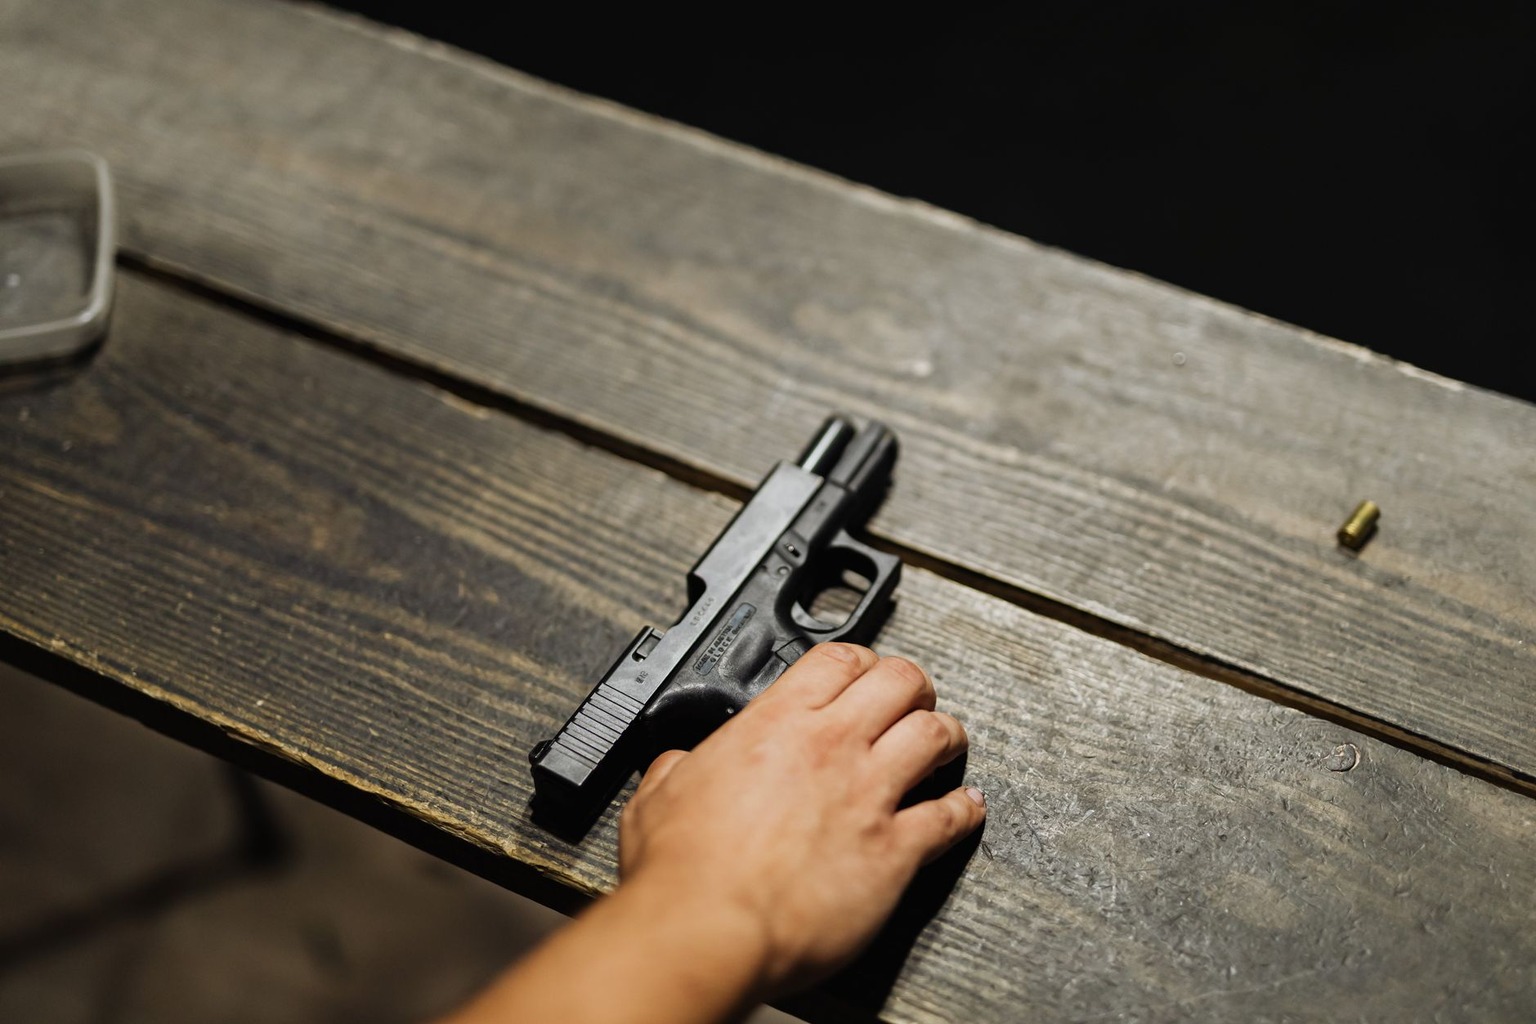
Mental focus ties the physical elements together. Anticipating the recoil can trigger a flinch, a subconscious reaction where the shooter pulls the gun down or flinches the muscles before the shot breaks. This flinch is the enemy of recoil control. Experienced marksmen train to decouple the mental expectation from the physical action. By focusing on the sight picture and the press of the trigger, the brain inhibits the flinch response. Visualization techniques, where the shooter mentally rehearses the shot sequence from stance to follow-through, can program the subconscious to execute the mechanics smoothly. The mind’s expectation of recoil often creates more problems than the recoil itself.
Furthermore, the environment plays a role in mental state. A noisy, crowded range can increase anxiety, leading to shallower breathing and tighter grips. Choosing a practice environment that allows for concentration, even if it is just a quiet corner of a busy range, makes a significant difference. For beginners, starting with .22 LR firearms in a low-pressure setting allows them to focus on the mechanics of breathing and focus without the added stress of heavy recoil. As confidence grows, the shooter can progress to larger calibers while maintaining the breathing and mental routines that keep the platform steady. The integration of breath and mind is what separates a panicked shot from a controlled one.
Dry Fire Practice and Dry Fire Drills
Dry fire practice, the act of firing a weapon without live ammunition, is the most accessible and effective method for refining recoil control techniques. It allows the shooter to repeat the fundamentals, stance, grip, trigger control, and follow-through, ad nauseam without the cost or logistics of range fees and ammunition. For beginners, dry fire is where the muscle memory for a high grip and proper stance is built. There is no recoil to fight, so the shooter can focus entirely on the correct positioning of the body and hands. This repetition builds the neural pathways that will serve the shooter when live fire begins, making the transition to the range smoother and more controlled.
However, dry fire must be done safely and with purpose. Using a proper backstop and ensuring the firearm is unloaded are non-negotiable safety rules. Drills should be structured, such as calling the shot, verbally identifying where the sights were at the moment of the “break”, and then resetting the trigger. This drill forces the shooter to observe the gun’s movement during the shot, rather than just reacting after the fact. For experienced shooters, video analysis of dry fire sessions can reveal subtle issues, such as a collapsing wrist or an inconsistent trigger finger path. The absence of bang allows for a slower, more analytical approach to the mechanics of the shot.
Incorporating movement into dry fire drills adds another layer of complexity. Practicing recoil control while stepping forward or pivoting simulates real-world scenarios where the shooter must move and shoot. This is particularly relevant for competitive shooters and those concerned with home defense. The key is to maintain the same grip pressure and body tension used in static shooting, even as the feet move. Dry fire is not just a warm-up; it is a laboratory for testing and refining the variables of recoil management. By treating every dry fire session as a learning opportunity, shooters of all levels can see steady improvement in their ability to control the firearm.

I’ve been drawn to the world of firearms and edged weapons ever since I first visited a local shooting range as a teen. I love exploring the history, technology, and responsible use of these tools, and I enjoy sharing insights with fellow enthusiasts.