
Building the Ultimate Airsoft Loadout: From Survival to Performance
The right gear isn’t just about looking good on the field, it’s about turning raw potential into reliable performance. Whether you’re running a full tactical loadout for a serious skirmish or optimizing for speed and mobility in a fast-paced game, every piece of equipment must serve a purpose. The difference between a loadout that feels like an extension of your body and one that drags you down comes down to deliberate planning. This isn’t about throwing together random gear; it’s about creating a system where each item enhances the others, from your primary airsoft rifle to your hydration pack. The best loadouts aren’t built in a day, they’re refined through experience, adjusted for weight distribution, and tailored to your playstyle. Let’s break it down into actionable steps so you can start building a loadout that actually works for you.
Step 1: Define Your Playstyle Before You Buy Anything
Before diving into gear, determine your role as an airsoft player to optimize your equipment choices. Are you a stealth-focused recon operator who prioritizes silence and maneuverability, or a close-quarters combat specialist who needs durability and firepower? Your loadout should mirror these priorities. For example, a sniper-style loadout will demand a lightweight, high-magnification scope and a precision rifle like a G&G M4 with a free-floating barrel, while a full-military loadout might require a heavier, more robust platform like an Umarex MP5 or a modified Kyosho M4 with a red dot sight for faster target acquisition. Even your movement style matters, urban players need gear that allows for tight spaces, while woodland or open-field games call for longer-range optics and better camouflage. Without this foundation, you risk buying gear that feels like a mismatch, no matter how expensive it is.
The mistake most players make is assuming one-size-fits-all gear will work. A loadout optimized for speed won’t cut it in a high-mobility game, just as a heavy tactical vest designed for static defense won’t help you move quickly in a skirmish. Start by tracking your playstyle over a few sessions, where do you spend the most time? What’s your primary engagement range? Once you have those answers, every piece of gear you add should serve one of three goals: improve your effectiveness, reduce weight without sacrificing function, or enhance comfort for longer engagements. If a piece doesn’t fit into one of these categories, it’s either unnecessary or a distraction.
Step 2: Prioritize Your Core Gear, The Non-Negotiables
Not all gear is created equal, and some items are absolute must-haves regardless of playstyle. Your primary airsoft rifle is the cornerstone, so invest in a platform that balances reliability, accuracy, and weight. For example, a high-end AEG like the Tokyo Marui M4 or the G&G M4E2 offers superior durability and consistency, while a budget-friendly option like the Kyosho M4 might suffice for casual play. Pair it with a quality magazine, preferably a 300-round capacity model if you’re running a full-military loadout, or a 200-rounder for a more balanced approach. Don’t overlook your gearbox motor; a high-torque motor like the Tokyo Marui’s 10.5mm or the G&G’s 10.5mm with a 1000+ RPM rating will keep you in the fight longer, especially in cold weather or with high-friction gear.
For a closer look at essential starter gear, Defrowe Airsoft covers all the basics in this helpful video you can watch right here.
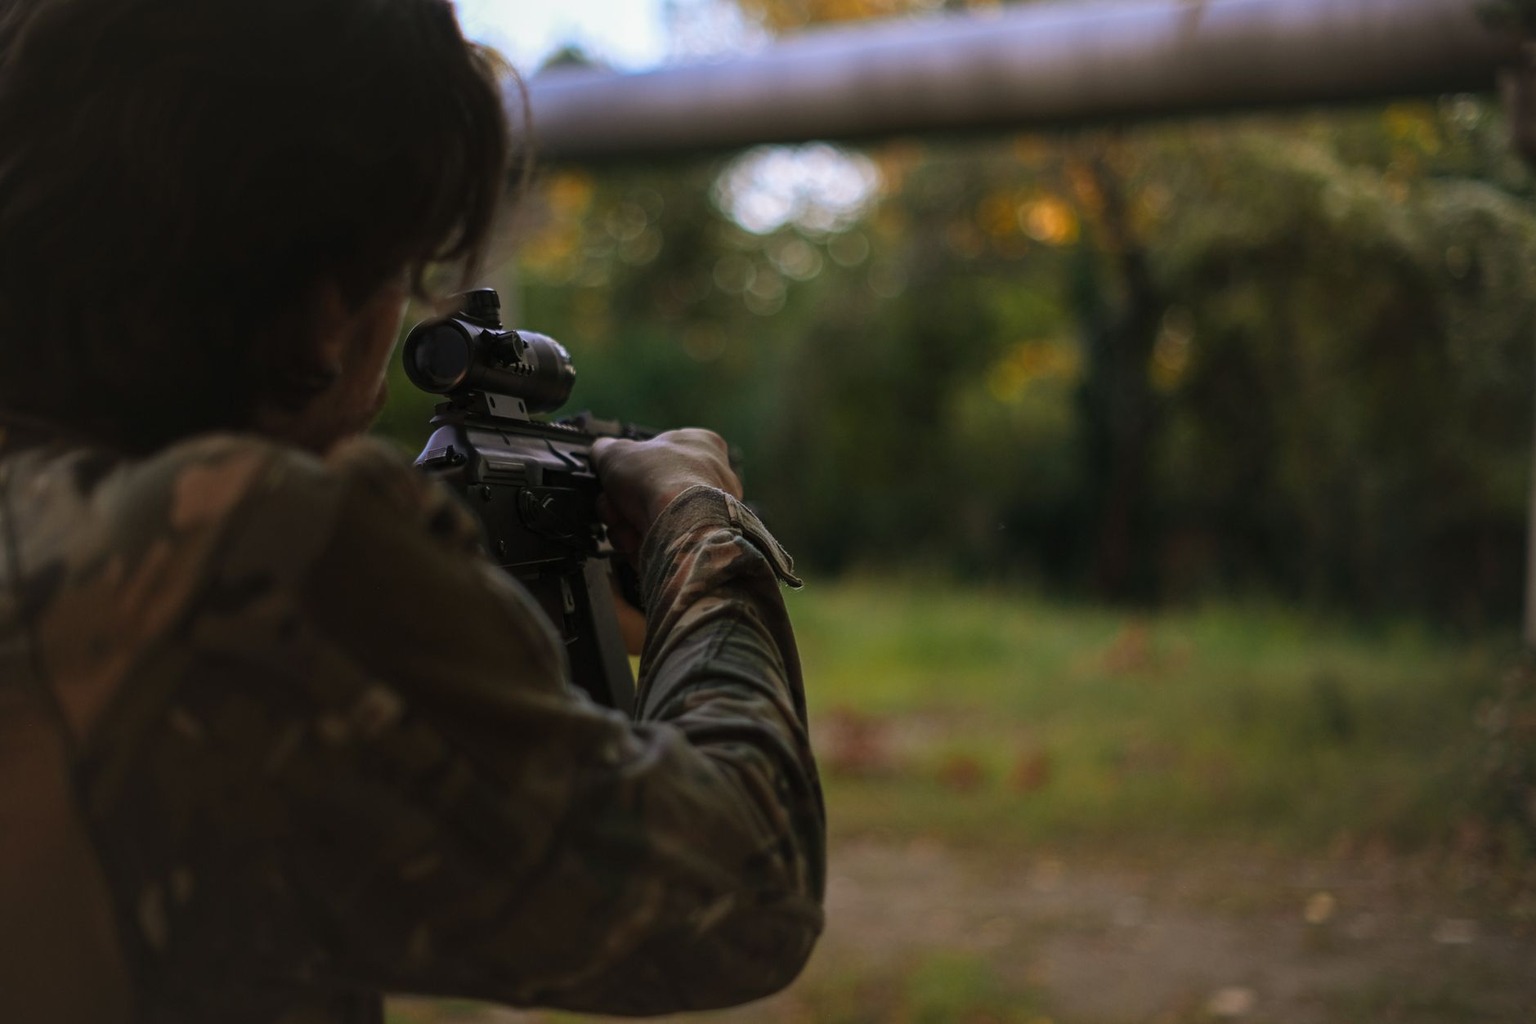
Your optics are just as critical. A 3-9x or 4-12x variable power scope will give you the flexibility to engage targets at different ranges, while a red dot sight like the Aimpoint Micro T-1 or EOTech 553 is ideal for close-quarters engagements where speed matters more than precision. Don’t forget your iron sights as a backup, many modern airsoft rifles include them, but if yours doesn’t, a quick-release sight like the SureFire X300 or a flip-up sight will save you in low-light conditions. Finally, your gear’s overall weight distribution matters. A rifle with a forward-mounted scope and a magazine pouch on your hip will feel more balanced than one with everything strapped to your chest, which can throw off your aim and mobility.
Step 3: Layer Your Loadout for Mobility and Protection
Mobility isn’t just about running faster, it’s about moving efficiently without sacrificing protection or firepower. Start with your chest rig: a lightweight tactical vest like the 5.11 Tactical RASH Vest or the Condor V3 offers modularity, allowing you to attach pouches for extra magazines, grenades, or first aid. For a more minimalist approach, a plate carrier like the Ghillie Gear 2.0 or the 5.11 Tactical TAC-6 can carry your essentials without the bulk of a full vest. The key is to distribute weight evenly, keep your heaviest items (like extra magazines or a hydration bladder) on your hips or lower back to keep your center of gravity low. Avoid overloading your shoulders with heavy pouches, as this can strain your neck and shoulders over time.
Next, consider your clothing. For urban environments, a lightweight tactical shirt with built-in pockets (like the 5.11 Tactical T-Shirt or the Condor V3 Shirt) keeps essentials like a flashlight or handgun within easy reach. In wooded or open-field terrain, a lightweight camouflage jacket or vest with adjustable straps will help you blend in while still allowing for quick movements. Don’t forget about footwear, boots with good ankle support and traction, like the 5.11 Tactical A.T.L. 6” or the Danner Mountain Light, will keep you stable on uneven terrain. Layering isn’t just about warmth; it’s about adapting your loadout to the environment while maintaining mobility. If your gear feels like it’s slowing you down, you’re either carrying too much or not distributing it correctly.
Step 4: Optimize for Speed and Efficiency, The Art of Minimalism
The most effective loadouts aren’t the heaviest, they’re the ones that allow you to move, engage, and retreat without hesitation. Start by asking yourself what you actually need in a given scenario. If you’re running a close-quarters battle, do you need a grenade launcher? Probably not, stick to a sidearm like the Umarex MP9 or a compact airsoft pistol. For long-range engagements, a secondary rifle like a Kyosho AR-15 with a 20” barrel and a 6x scope might be more useful than an extra magazine pouch. The goal is to eliminate dead weight while keeping your firepower options open. One common mistake is hoarding extra magazines when you only need two or three for a standard engagement. If you’re running a 300-round magazine, you might only need one or two extras before switching to a fresh one.
Speed also comes from smart gear placement. Keep your most frequently used items, like your sidearm, flashlight, or radio, within arm’s reach. For example, a sidearm holster mounted on your thigh or hip will let you draw faster than one strapped to your chest. Similarly, a magazine pouch that snaps onto your hip belt keeps your reloads accessible without fumbling. If you’re running a full-military loadout, consider a sling system that allows you to switch between your primary and secondary rifle quickly. The less you have to stop and adjust, the more time you’ll spend moving and engaging. Remember, in airsoft, the player who stays on the move wins, so design your loadout to keep you there.
Step 5: Don’t Overlook the Little Details, Gear That Makes the Difference
The difference between a good loadout and a great one often comes down to the small details. Start with your gear’s attachment points, ensure all straps, buckles, and clips are in good condition. A broken carabiner or frayed strap can turn a minor inconvenience into a major problem mid-game. Invest in high-quality gear like YKK zippers or reinforced stitching on your pouches to prevent snags or tears. Your hydration system is another often-overlooked detail, opt for a lightweight bladder like the CamelBak 3L or a hydration vest with quick-access ports so you can drink without stopping. Even something as simple as a good pair of gloves can improve grip on your rifle’s stock or pistol grip, especially in wet or cold conditions.
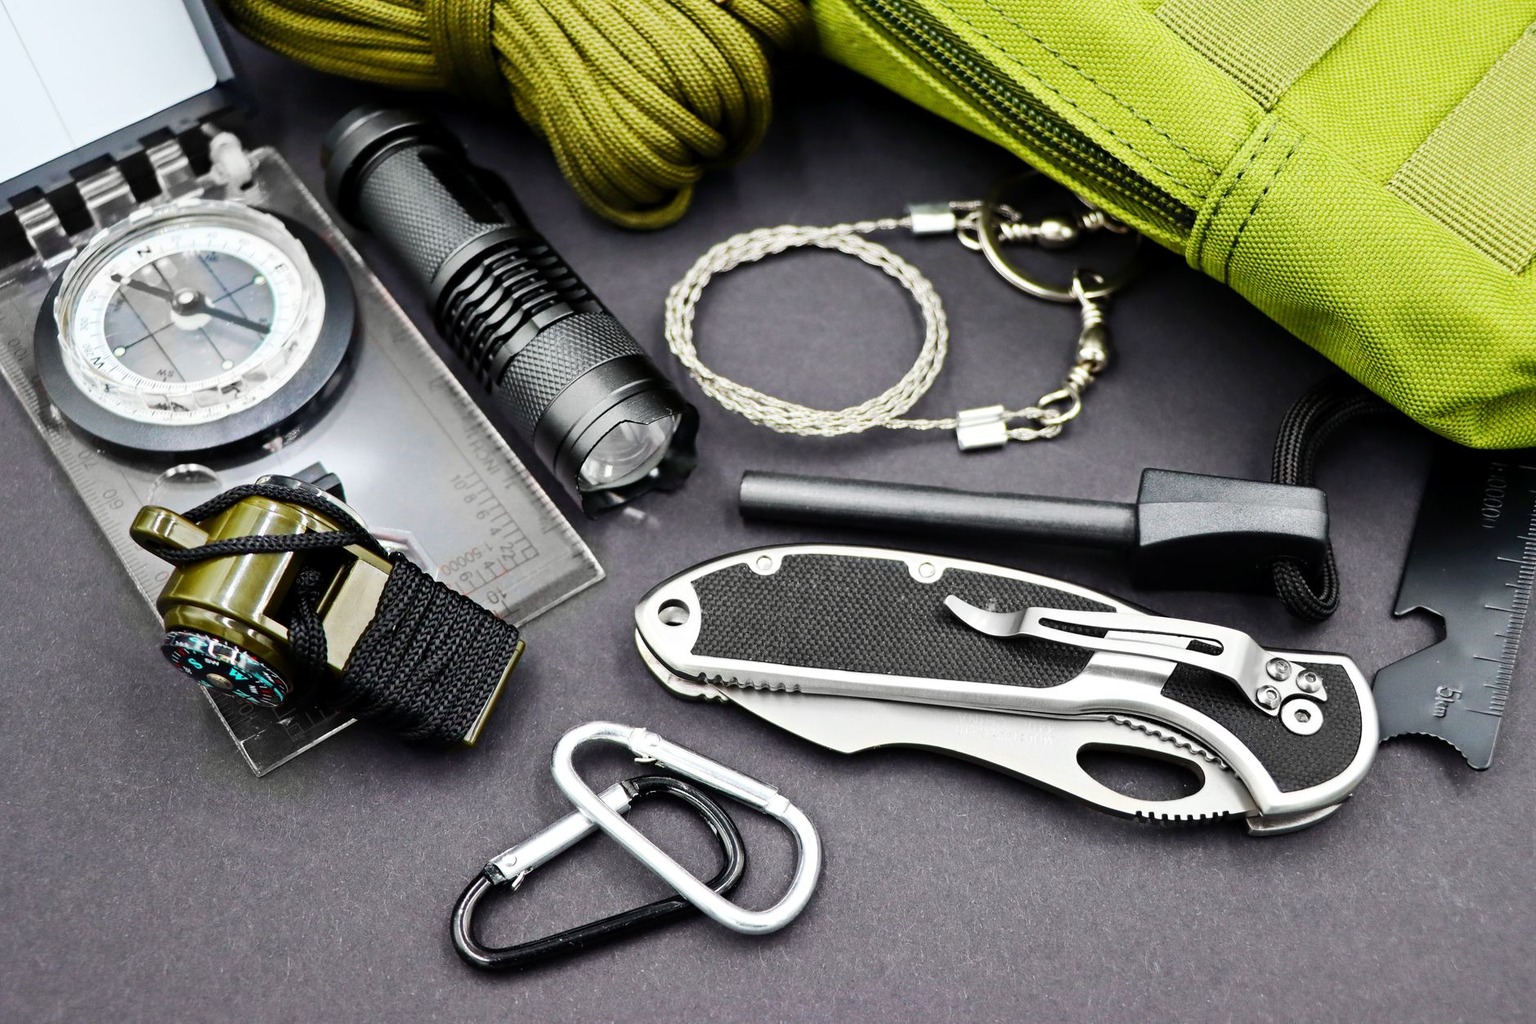
Lighting is another critical but frequently neglected aspect. A high-lumen flashlight like the SureFire X300 or the Olight M1R provides illumination without being bulky, while a headlamp like the Petzl Tikkina offers hands-free operation for movement in low-light scenarios. Don’t forget about sound dampening, if you’re playing in a stealth-focused game, a suppressor like the Tokyo Marui Suppressor or a silencer for your sidearm can make a huge difference. Finally, consider your communication gear. A compact radio like the Motorola T260 or a simple walkie-talkie can keep your team coordinated without adding unnecessary weight. These small upgrades add up to a loadout that feels polished and ready for any situation.
Step 6: Test, Adjust, and Refine, Your Loadout Evolves
A loadout isn’t static, it’s a living system that needs constant refinement. After each session, take stock of what worked and what didn’t. Did your magazine pouch get in the way of your movement? Did your hydration bladder feel too heavy? Adjust accordingly. For example, if you found yourself constantly reaching for your sidearm, you might need to reattach its holster or switch to a more accessible configuration. Similarly, if your rifle’s stock was uncomfortable after long engagements, consider adding a foam pad or switching to a different model. Track these adjustments over time, what feels good after one game might not after another, especially as conditions change with terrain, weather, or opponent tactics.
The best loadouts are built through iteration, not perfection. Don’t be afraid to experiment with different setups. Try running a loadout with a sling instead of a chest rig to see if it improves your mobility. Test different magazine capacities to find the sweet spot between firepower and weight. The more you play, the more you’ll understand what works for your body and your playstyle. And remember, there’s no such thing as a perfect loadout, only one that’s right for you at this moment. The key is to stay adaptable and always be willing to make changes. A loadout that feels right today might need tweaks tomorrow, and that’s exactly how you stay ahead of the game.

I’ve been drawn to the world of firearms and edged weapons ever since I first visited a local shooting range as a teen. I love exploring the history, technology, and responsible use of these tools, and I enjoy sharing insights with fellow enthusiasts.